Last updated November 21, 2026
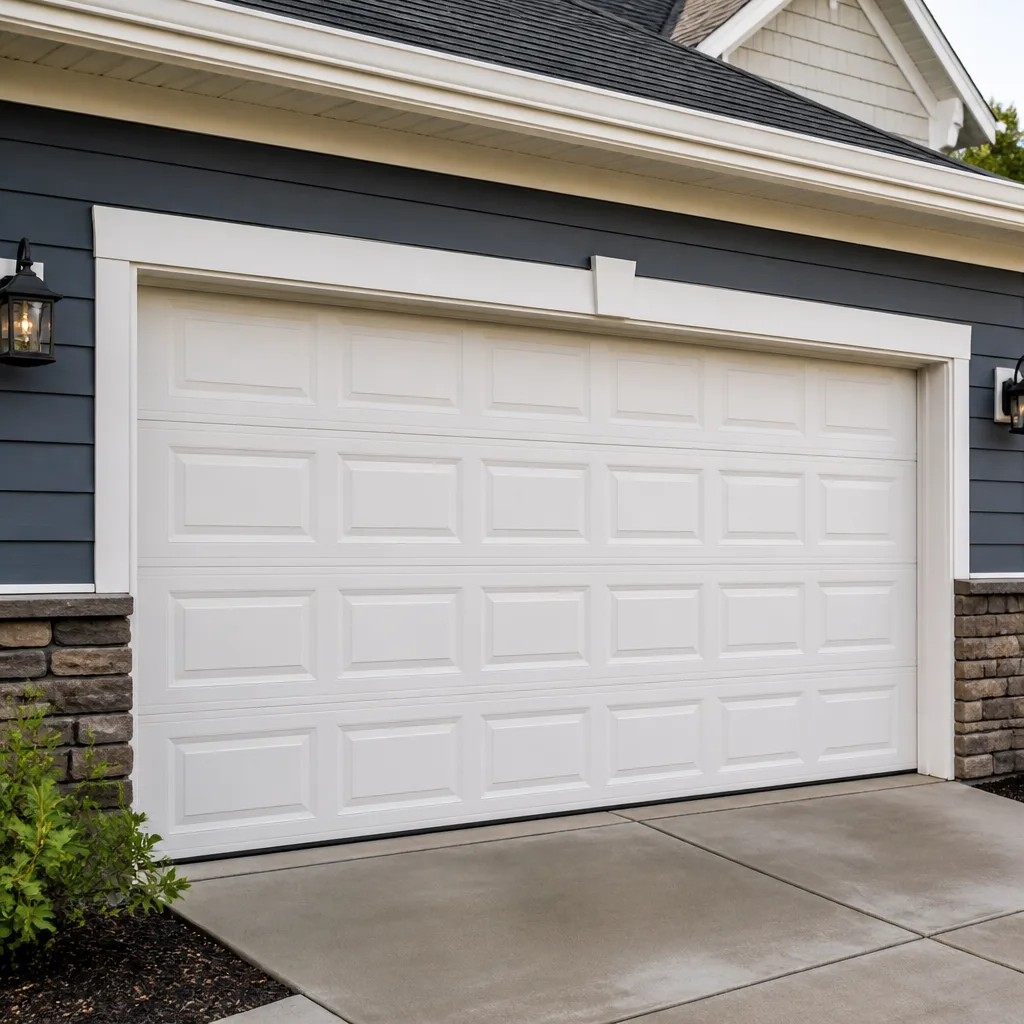 Raised-panel steel
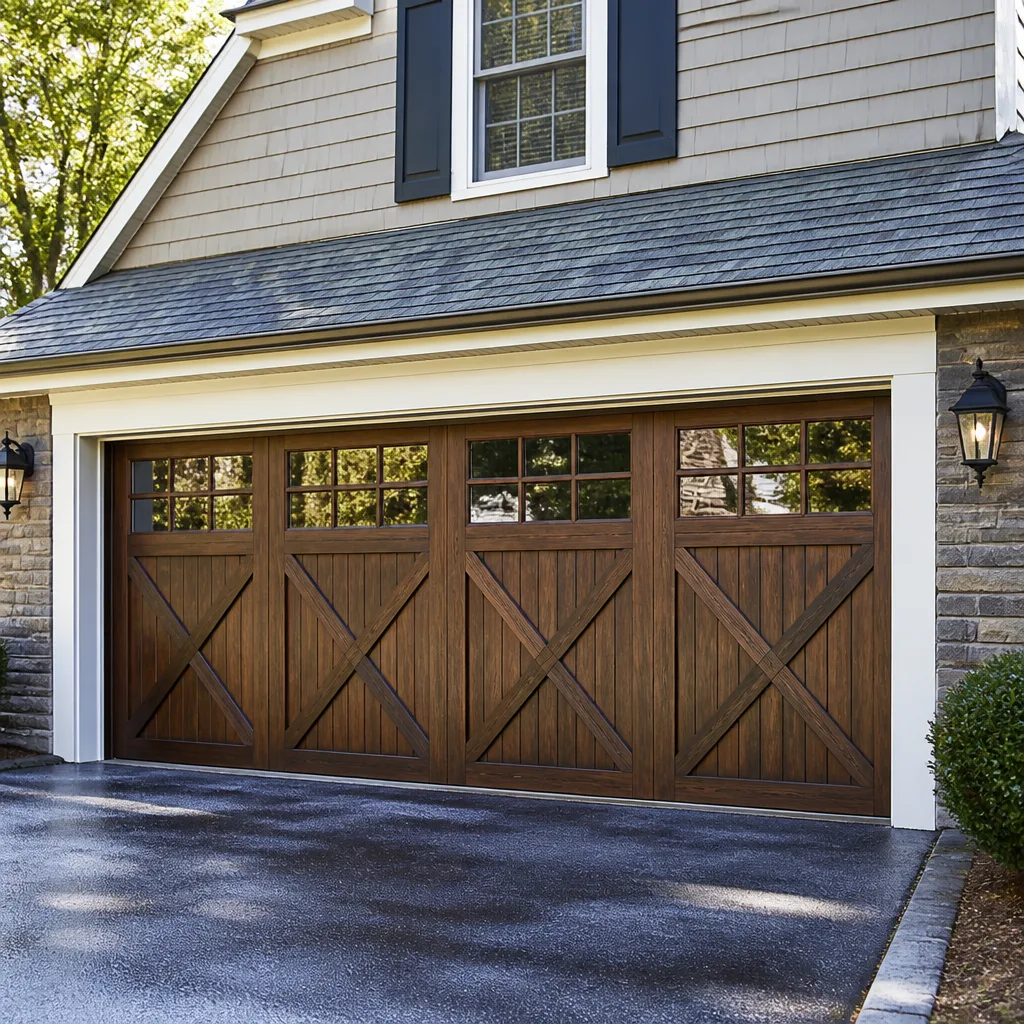 Carriage house
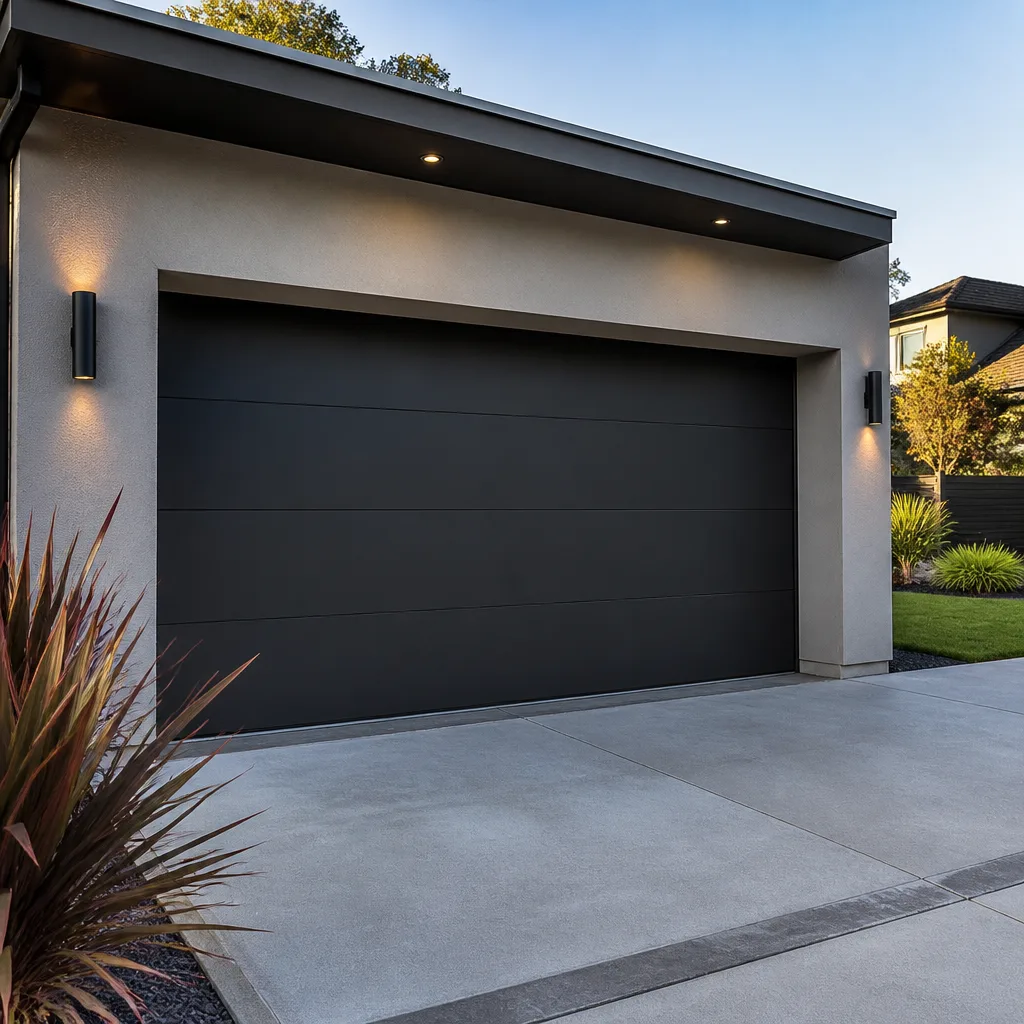 Modern flush
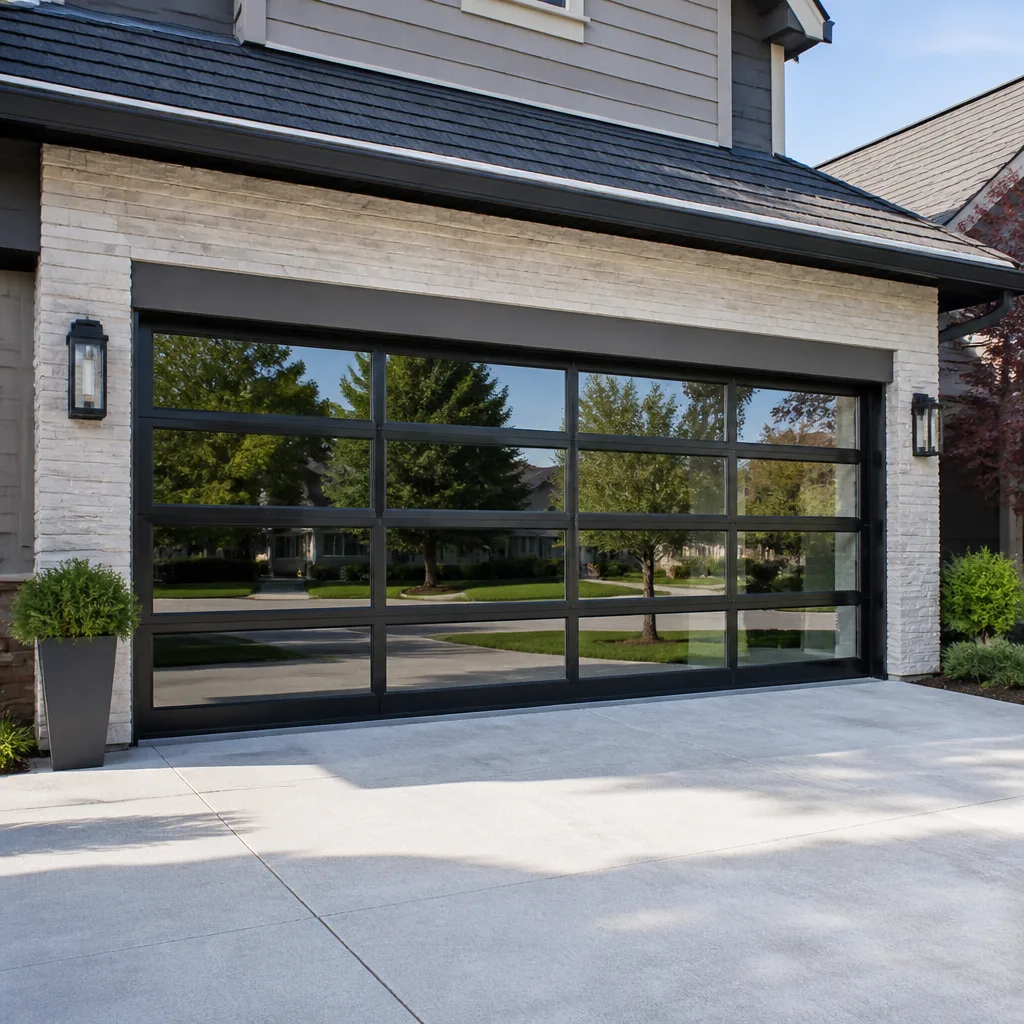 Full-view glass
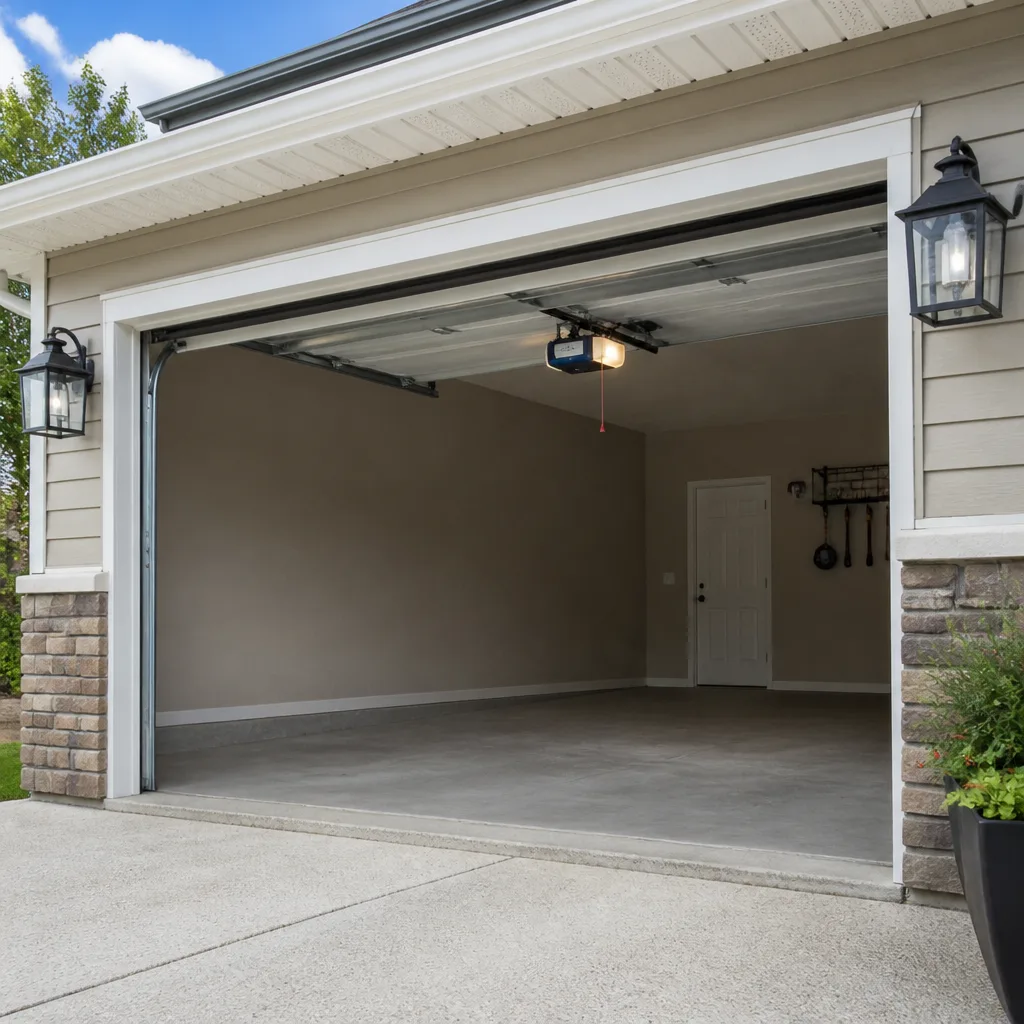 LiftMaster openers
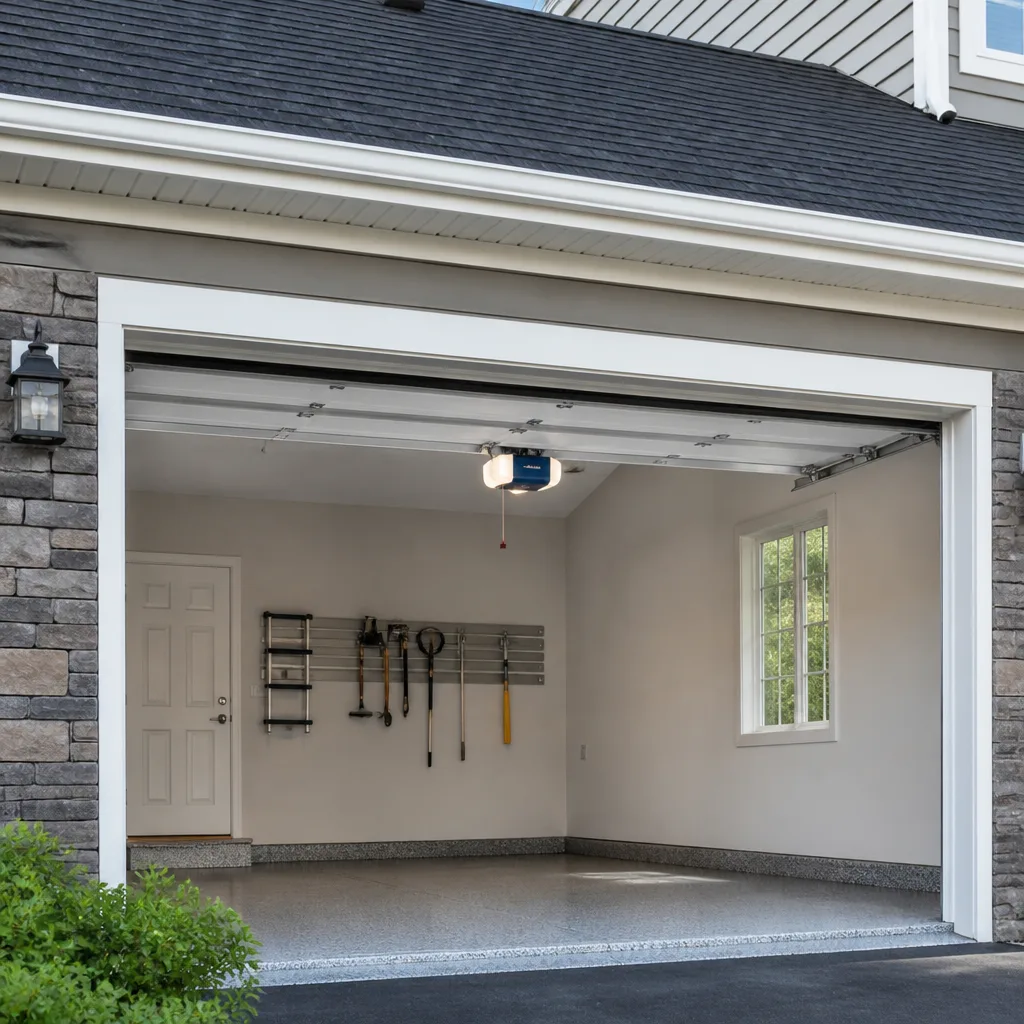 Chamberlain openers
Full 25-point door and opener safety check with every visit - springs, cables, rollers, tracks, and your LiftMaster or Chamberlain opener included
You get a price before we start. It does not change when the pro arrives.
Get your free estimateGarage Door Warning Signs: A Wellington Homeowner’s Reference Guide
Most guides to garage door problems tell you the same thing: call when the door won’t open. That advice arrives too late. A torsion spring doesn’t snap without warning, and a cable doesn’t fail in a single instant. Both telegraph their failure through small, measurable symptoms in the days and weeks before they let go. In Wellington’s humidity, those symptoms often show up in places homeowners never think to look. This reference guide covers the early-stage warning signs, which ones matter most, and how to tell the difference between normal wear and a failure in progress. Read it once and you’ll know your door better than most people ever do.
Quick Answer
The main warning signs of garage door failure in Wellington are uneven lifting, a visible gap in the spring coil, rust streaking from hardware onto the panels, fraying at the cable drum, and an opener that reverses mid-travel or slows under load. Most of these appear before a total failure, and all of them get cheaper to fix the sooner you call. If you notice more than one at the same time, treat it as urgent.
Styles & brands we work with
- Raised-panel steel
- Carriage house
- Modern flush
- Full-view glass
- LiftMaster openers
- Chamberlain openers
Table of Contents
- Pre-Failure Spring Indicators: The Signals That Matter Most
- How to Spot Cable Fraying Before It Fails
- Humidity Warning Signs in Wellington
- Opener Behavior Changes That Signal a Mechanical Problem
- Safety Sensor Misalignment: The Most Misdiagnosed Problem
- Bottom Seals, Panels, and Other Slow Failures
- A Monthly Inspection You Can Do in Ten Minutes
- Warning Signs Ranked by Urgency
Pre-Failure Spring Indicators: The Signals That Matter Most
A torsion spring under load holds hundreds of pounds of tension, and it usually gives notice before it breaks. Three indicators matter more than anything else on this page. Here’s what to check and why.
- Uneven lift. Stand in front of your door and watch it rise slowly. If the left side climbs faster than the right, or the door visibly tilts during travel, the springs are no longer balanced. An unbalanced system puts extra load on one spring and shortens its life. On a two-spring setup, the weaker one is usually the one that fails first.
- A visible gap in the coil winding. This one requires care. With the door fully closed and the opener disengaged, look at the torsion spring above the door, but never touch it. A healthy spring’s coils sit nearly flush against each other. If you see a gap between coils, or the spring looks slightly stretched or bowed along its length, it’s already in the failure phase. Stop using the door and call a specialist.
- The door hanging heavier on one side. Lift the door halfway by hand, slowly. It should feel balanced. If one side resists, or the door feels dramatically heavier than usual, the springs are losing tension. This is the symptom most likely to be dismissed as “the opener getting old,” and that’s a common misdiagnosis.
In our experience, a spring that shows all three symptoms at once is a spring you can expect to fail soon rather than eventually. Wellington’s warm, humid climate doesn’t directly wear springs faster than anywhere else, but it does accelerate rust on the wire itself, which is its own failure pathway. That’s one reason we handle spring repair as its own specialty rather than folding it into general repair work. If you suspect yours is on the way out, garage door spring repair is a job to schedule, not to defer.
Why Springs Get Professional Attention
Torsion springs are the single most dangerous component on a garage door. They’re under extreme tension even when the door is closed, and they carry no warning label. We won’t give you step-by-step instructions for adjusting them, and neither should any other responsible company. What we will say is this: if the coil looks stretched, bowed, or gapped, keep the door closed and have a trained technician look at it. That one caution protects your hands, your door, and your car.
How to Spot Cable Fraying Before It Fails
Cables rarely snap cleanly. They fray first, and the early stage looks different from the wear you might expect. The cable winds around the drum at the top of each side of the door. If you look at that drum with the door fully open (and the opener disengaged), you can usually see the windings clearly.
What Normal Wear Looks Like
A cable in good working order sits tightly in its grooves, appears uniformly dark or metallic, and shows no loose strands. Slight dulling over time is normal. Fraying is not. The early-stage signs of an impending failure are:
- One or two broken strands poking out of the cable, often near the drum or where the cable terminates
- The cable winding looks uneven on the drum – overlapping on one side, spread out on the other
- The cable looks slack or has a kink in it
- The drum has visible wear where the cable sits, or a groove that looks chewed
- The door is no longer level when fully open
If you see a broken strand, treat that cable as failing. Don’t operate the door, and don’t try to reset the cable into the groove. A cable that comes off the drum under tension can whip through the garage with serious force. This is one of those areas where the specialist line matters: garage door repair covers cable replacement and drum wear, and it’s the kind of work the general handyman trade usually avoids.
When Cables Go and When They’re About To
A frayed cable can hold for weeks or fail on the very next cycle. You can’t predict which, and the cost of guessing wrong is high. If you notice any of the signs above, have someone look at it before you run the door again. Wellington homeowners often discover a frayed cable when the door starts sounding different, not when it stops working. The noise is your early warning.
Humidity Warning Signs in Wellington
Wellington’s warm, humid air creates its own category of warning signs, and they’re easy to read if you know what to look for. They also tend to appear before the mechanical symptoms.
Rust Streaking
Look at the bottom row of hinges and the roller brackets closest to the floor. These sit in the most humid part of the garage. A small amount of surface rust is normal in a Wellington garage. What matters is whether the rust is streaking – leaving orange trails down the door panel or along the tracks. Rust streaks mean the hardware is shedding metal onto your panels, and it usually signals two problems at once: the hardware needs attention, and the panels underneath are losing their finish. Left alone, that finish loss spreads. Panels on Clopay and Amarr doors, which we frequently work on, often show rust trails first along the bottom edge.
Bottom Seal Separation
The bottom seal is the rubber or vinyl strip along the bottom edge of the door. In Wellington, it’s the first thing to fail, and one-sided separation is the classic sign. Stand outside and look at where the door meets the concrete. The seal should contact evenly. If one side pulls away while the other sits flush, the failure isn’t always the seal itself; it might be the door out of balance or the floor settling. Either way, that gap lets insects and water in, and it affects the door’s ability to close evenly. A seal that’s separating on one side is a sign to check the whole bottom of the door, not just to replace the rubber.
Hardware and Track Stickiness
Humidity affects hinges, rollers, and the track more than it affects the opener. Rollers that squeak, hinges that resist when you move the door by hand, or a door that “catches” at a specific point in its travel are all signs that the door’s moving parts need attention. Track lubrication is routine; binding is not. If the door catches at the same point every time, stop using it and get it looked at.
Opener Behavior Changes That Signal a Mechanical Problem
One of the most frequent misdiagnoses we see: a homeowner calls about a failing opener when the problem is actually the door. The opener is just the messenger. Learn to read its behavior and you’ll save yourself a replacement you don’t need.
The Reversal Mid-Travel
An opener that reverses partway through the down cycle is usually responding to resistance it wasn’t designed for. That resistance comes from the door: a roller catching, a track out of alignment, a spring losing tension, or a cable hanging up. Before you assume the opener is bad, disengage the opener (pull the red manual release handle) and move the door by hand. If it moves freely, the opener probably is the problem. If it resists, the door is the problem and the opener is correct to reverse.
Slow Lift Speed
The door should reach the fully open position at a consistent speed. If it’s noticeably slower than it used to be, or it starts slow and then speeds up as the door rises, the opener is working harder than it should. The usual culprits are the door’s balance (springs), friction in the tracks, or worn rollers. An opener itself doesn’t usually fail slowly; it fails suddenly or intermittently. Slow lift is nearly always a door problem.
Grinding Under Load
Grinding noise when the door moves, especially during the first half of the lift, points to the opener’s gear or trolley under load. Chamberlain and Genie openers each have their own characteristic noises when the gear wears. If the noise is consistent and the door itself seems fine, this is a genuine opener repair. That falls under garage door opener repair, which we handle across nearly every opener brand you’re likely to own, including Chamberlain and Genie.
Random Stops and Stalls
An opener that stops partway and needs to be re-engaged before it continues isn’t usually failing. It’s receiving a bad signal from a sensor or seeing resistance in the door. Sensor problems are covered in the next section. Resistance problems are covered in the spring and track sections. Before you buy a new opener, have someone check the door itself.
Safety Sensor Misalignment: The Most Misdiagnosed Problem
The safety sensor problem is the most common reason a door “won’t close,” and it’s also the reason the most openers get replaced unnecessarily. If your door closes fine when you hold the wall button but stops and reverses when you use the remote, the sensor is almost certainly the cause.
Symptoms of a Sensor Fault
- The door closes when you hold the wall button down, but reverses when you release it
- The door reverses as soon as it reaches the bottom of travel
- The opener’s light flashes a fixed number of times in a repeating pattern when the door tries to close
- The sensors’ indicator lights are steadily on but misaligned (one light on, one blinking)
- The door works when you stand in front of it and fails when you walk away
Each of these points to the safety sensor pair, not the opener’s motor or controls. Sensors sit at the bottom of the tracks on each side of the door and communicate with each other across the opening. If either is bumped out of alignment, they stop the door for safety. That’s their job. That behavior is easy to mistake for an opener failure.
How to Check Without Tools
Look at the indicator LED on each sensor. If both are steady, the sensors see each other. If one is blinking or off, they don’t. Sunlight hitting one sensor directly is a commonly missed cause; so is a sensor face with a haze of dust or spider webs, which happens quickly in Wellington’s climate. A sensor that keeps losing alignment after you adjust it usually indicates a bent bracket or a loose track. Both are repair problems, not sensor replacement problems.
If your sensors are clean, aligned, and still producing a bad signal, the problem may actually be in the opener’s control board. This is the case where we’d rather diagnose it once than guess. Wellington locals typically call us for a free estimate, and it’s often resolved without a new opener.
Bottom Seals, Panels, and Other Slow Failures
Not every warning sign is urgent. Some are just slow leaks in the system, and they’re the ones most worth catching early. Wellington’s rain, when it comes, tends to find these openings first.
Bottom Seal and Garage Floor Contact
The bottom seal should sit flush against the concrete. If you can see daylight under the door, or the seal sits on top of water after rain, that’s your sign. A seal that’s splitting, curled, or separating at the corners lets insects, water, and dust in, and it’s cheap to fix. The one-sided separation sign we mentioned earlier is the one worth paying attention to, because it often points to a bigger balance issue.
Panel Damage and Alignment
Walk around and look at the door from outside. Panels should sit evenly against each other, hinges straight, and the gaps between sections consistent. A single panel that’s got a dent from a car bumper or a stray object in the driveway is more than cosmetic: it puts pressure on the hinges and, in the case of a bent panel, changes how the door tracks. Small dents are often replaceable on their own. Larger dents on doors that aren’t panel-replaceable may shift the repair into garage door installation territory, and it’s worth getting an honest read before you commit to either path.
Loose Hinges and Worn Rollers
Rollers should be round, and hinges should sit flush. If your door wobbles slightly or the rollers look “flattened” on one side, they’re worn. Replacements are usually inexpensive and prevent bigger damage. A roller that fails can derail the door, which is a much larger problem.
The Door Sits Unevenly Against the Frame
If the door doesn’t line up with the weatherstripping along the top or sides, you’re likely looking at a door out of square. This can come from a bent track or from hardware that’s loosened over time. It’s usually fixable, and it’s cheaper to fix before the door travels out of the track. Wellington humidity makes wooden frames and steel tracks expand and contract slightly; the result is a door that’s tighter in some weather than others. If the fit is uneven year-round, it’s not the weather.
A Monthly Inspection You Can Do in Ten Minutes
You don’t need tools for most of this. A ten-minute routine, once a month, catches nearly every warning sign on this page before it becomes urgent.
- Watch and listen. Run the door from fully closed to fully open and back. Any sound that’s new – a squeak, a scrape, a grind – is worth investigating.
- Check the balance. Disengage the opener with the red release handle. Lift the door halfway. It should stay where you leave it. If it drops or rises, the springs are out of balance.
- Look at the springs. With the door fully closed, inspect the coil above the door from a distance (never touch it). Look for gaps, stretching, or a bowed shape.
- Look at the cables. With the door fully open, look at the drums at the top of each track. Check for broken strands, uneven winding, or a kinked cable.
- Check the hardware. Look at the bottom hinges and brackets for rust streaks. Look at the rollers for flat spots. Look at the seal for one-sided separation.
- Test the sensors. Look at the indicator lights on both sensors. Both should be steady. Wave an object across the beam; the door should reverse.
- Close the door and look from outside. Check whether the door sits evenly against the frame and whether the bottom seal contacts the floor.
Log what you find, even briefly. A door that’s been slowly changing over several months tells a very different story from a door that changed last week. When you call for service, that log helps the technician arrive with the right parts and the right expectations.
Warning Signs Ranked by Urgency
Not every sign means “stop using the door now.” This ranking helps you decide what to do tonight and what can wait for a scheduled appointment.
Stop Using the Door Immediately
- A visible gap, stretch, or bow in the spring coil
- Any broken cable strand visible on the drum
- A door that came off its track or is visibly crooked in the frame
- A loud bang from the spring area followed by a door that won’t lift
- Grinding under heavy load combined with a door that reverses mid-travel
For any of these, call for emergency service. We handle emergency garage door service as a core offering, not a sideline, and we can be there fast when the door won’t move.
Schedule Service Soon
- Uneven lift or a door hanging heavier on one side
- Rust streaks from hardware
- A frayed but still intact cable (treat as urgent; don’t run the door for long)
- Slow lift speed or grinding under load
- The door landing unevenly on one side of the seal
Fix at Your Next Convenience
- One bottom seal pulling away from the concrete
- Cosmetic panel dents
- Worn rollers you’ve confirmed still track cleanly
- Loose hinge screws
- A sensor that loses alignment occasionally
Common Mistakes to Avoid
- Assuming an unresponsive opener means a new opener. In Wellington, the majority of “dead opener” calls turn out to be sensor or balance problems. Replacing the opener without diagnosing the door wastes money and leaves the real problem in place.
- Treating slow lift as normal. A door that’s noticeably slower than it used to be is telling you the springs are losing tension. Waiting until it stops working means dealing with a failure, not a repair.
- Wiping rust streaks and moving on. The streaks come from hardware that’s already shedding. Covering them up is cosmetic; the hardware still needs attention.
- Adjusting a torsion spring yourself. This is the most dangerous mistake on the list. Springs are under extreme tension and cause the most serious garage door injuries.
- Ignoring a one-sided bottom seal. It’s rarely just the seal. It usually signals a balance or floor-contact problem that gets bigger.
- Using a general handyman for a failing door. Springs, cables, and track work need dedicated garage door experience. Our technicians have up to 11 years of experience on this specific equipment, and that matters on a system under tension.
- Assuming a sensor that “looks fine” is fine. Check the indicator lights, not just the appearance. A sensor bumped an eighth of an inch out of alignment is enough to stop the door.
See the difference
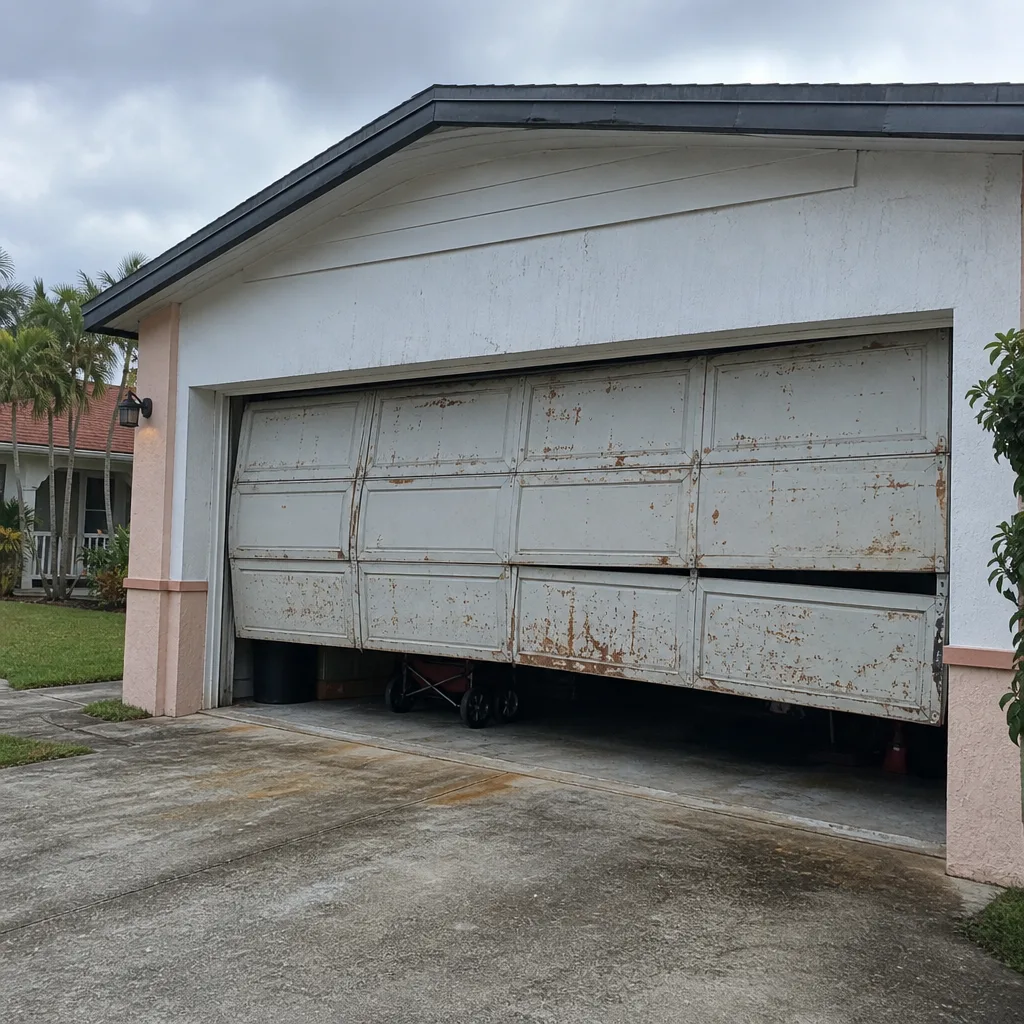 Before
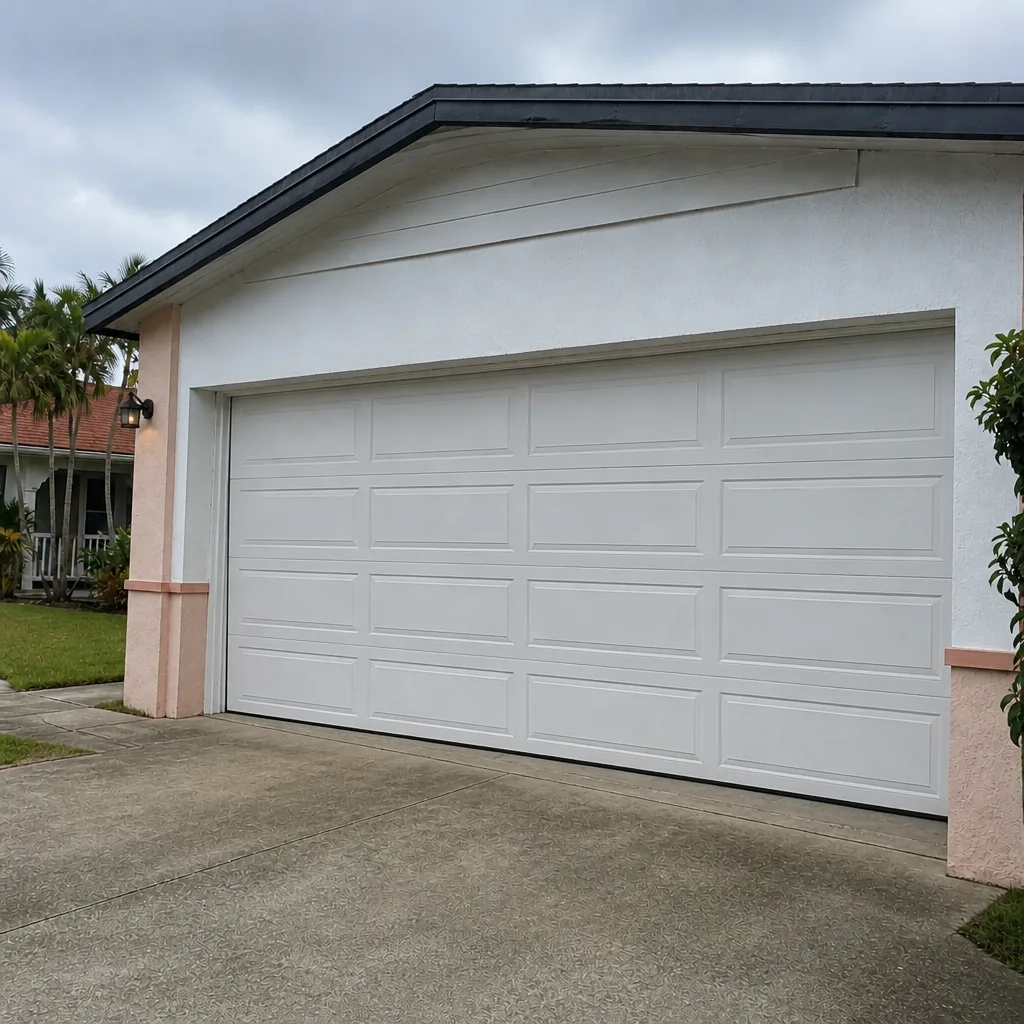 After
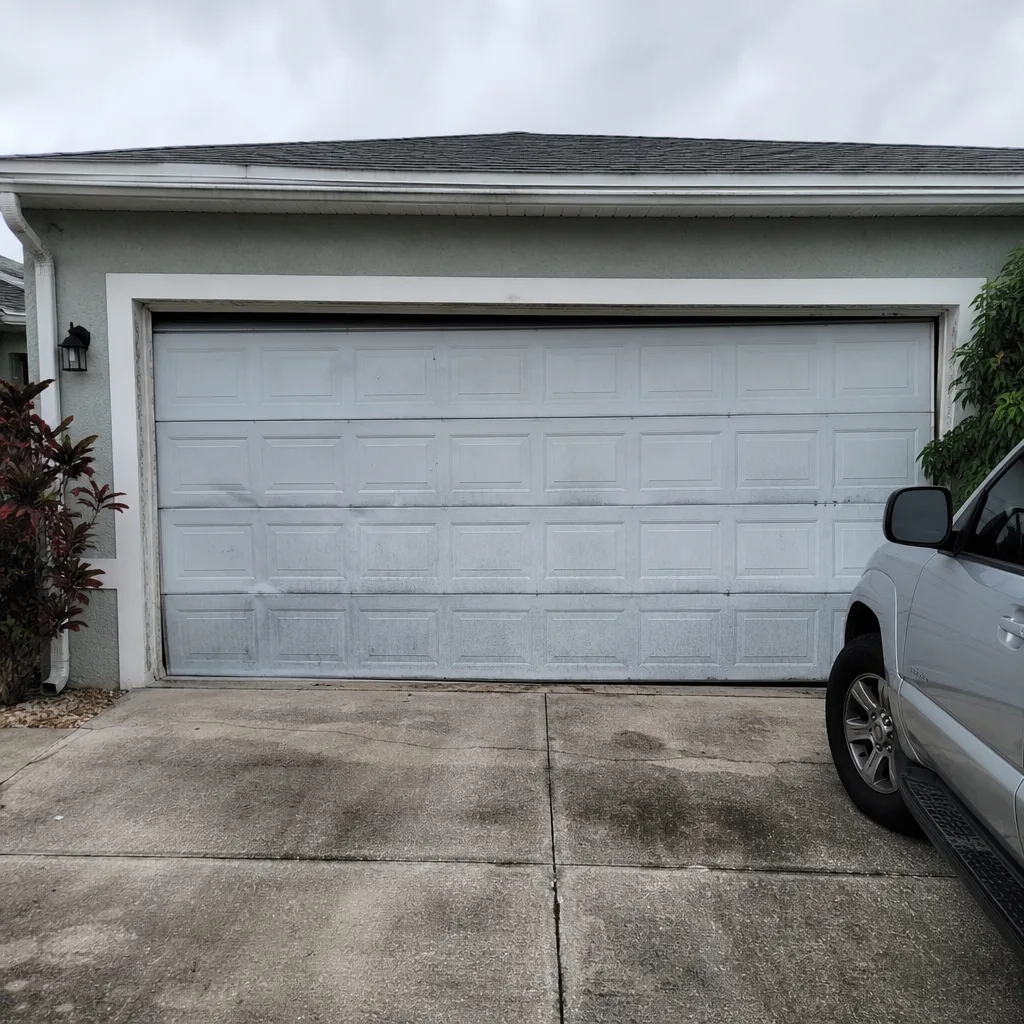 Before
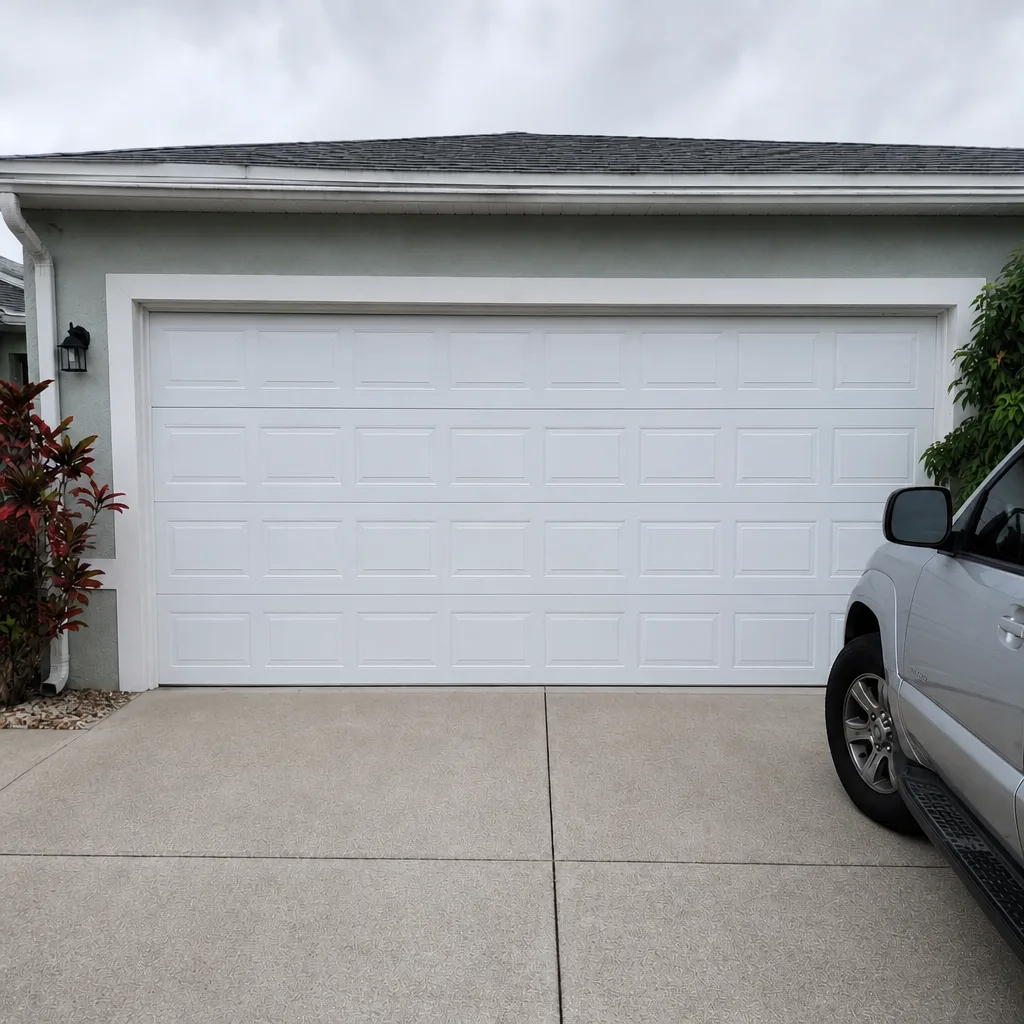 After
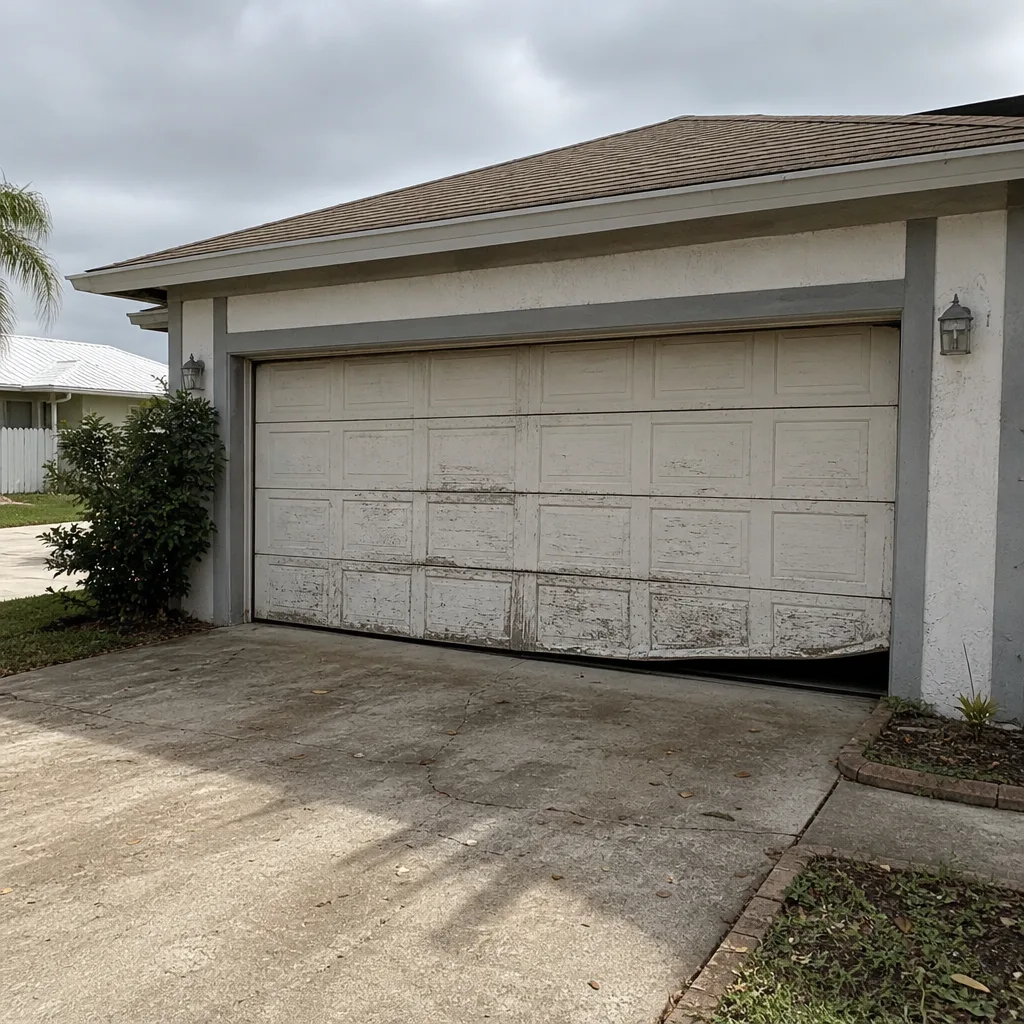 Before
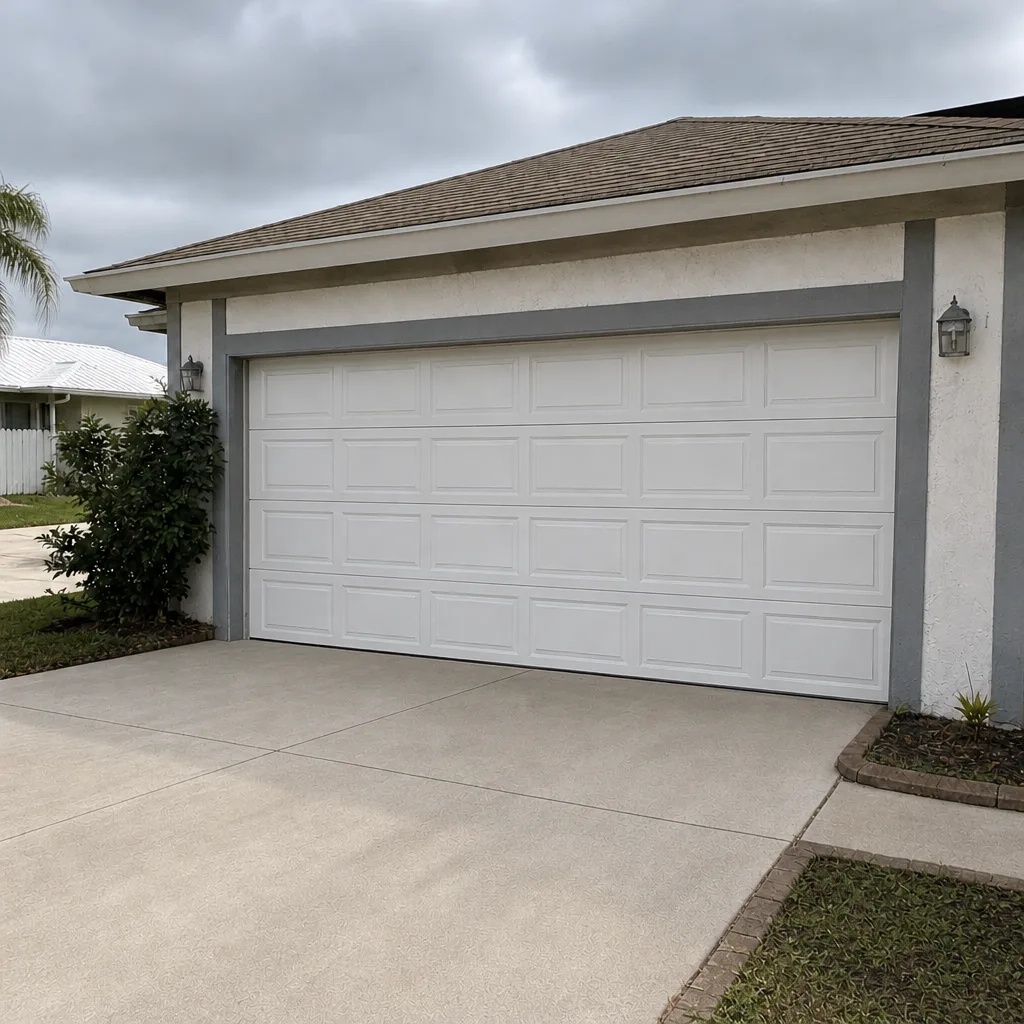 After
When to Call a Professional
Call a professional when the door’s balance is affected, when you see a broken cable strand, when a spring shows any sign of stretch or gap, or when the opener is behaving in a way you can’t explain. Call us immediately if the door is stuck open, off its track, or making a new sound during travel. Springs and cables are not DIY territory; track alignment and opener diagnostics are the ones homeowners most often misdiagnose as something simpler.
Wellington Garage Door Repair Pros offers free estimates in Wellington – call (855) 658-3814. We work on the brand you already have, whether that’s Chamberlain, Genie, Clopay, Amarr, or one of the eight major manufacturers we service. Garage doors are all we do, and that’s what makes the diagnosis reliable. When the door won’t move, we move fast.
Frequently Asked Questions
The first signs are uneven lift, the door hanging heavier on one side, and a visible gap, stretch, or bow in the spring’s coil winding. Any of those three means the spring is in its failure phase. Stop using the door and call for a specialist – spring repairs are not a do-it-yourself job.
Disengage the opener using the red release handle and move the door by hand. If it moves freely, the opener is likely the problem. If the door resists, catches, or feels uneven, the door itself is the problem and the opener is just reporting it. That one test separates most opener calls we get in Wellington.
The most common cause is safety sensor misalignment or a sensor with dust on the lens. The door closes when you hold the wall button but reverses when you release it, which is the classic sensor symptom. Check both sensor indicator lights; if one is blinking, they’ve lost alignment. If both are steady and the door still reverses, the cause is usually door resistance, not the sensor.
Yes. Rust streaks in Wellington come from the door’s hinges and brackets shedding metal onto the panels, and they usually signal two problems: the hardware needs attention, and the panel finish is degrading. They’re an early warning, not an emergency, but they’re worth addressing before the panels are affected permanently.
No. Cables fray before they fail, and the warning shows on the drum. Look for broken strands, uneven winding, kinks, or visible drum wear with the door fully open. A broken strand means the cable is in failure; stop using the door and have it replaced.
Most repairs fall in a typical range of roughly $150 to $600 depending on the part and the access; spring and cable work sit at the higher end, and sensor or roller work at the lower end. Every job is quoted before any work starts, and the written estimate sets the price. Call (855) 658-3814 for an exact quote – estimates are free.
A door that comes off its track or a spring that snaps can damage the car underneath and the door panels themselves. The earlier you catch the warning signs, the less likely that outcome becomes. Catching a balance problem early is always cheaper than replacing broken panels.
Lubrication helps hinges, rollers, and tracks but does not prevent spring, cable, or opener failures. Lubrication is routine maintenance, not repair. A door that’s binding or catching at the same point during travel is a sign of a mechanical problem that lubrication won’t fix.
Once a month is enough for the inspection outline above, and after any unusual sound or a door that feels different. The monthly routine catches nearly every warning sign on this page before it becomes urgent. If you spot a spring gap or broken cable strand, don’t wait for the next month.
Yes. We work with eight major manufacturers including LiftMaster, Chamberlain, Genie, Clopay, Amarr, Wayne Dalton, Craftsman, and Raynor. If your door is one of those, we can diagnose and repair it. If you’re not sure of the brand, call (855) 658-3814 and we’ll help identify it before the visit.
The Bottom Line
A garage door rarely fails without warning. The spring gap, the frayed cable, the rust streak, the door that lands heavy on one side – these are all advance notices. Wellington’s humidity makes some of them appear faster than elsewhere, and the monthly inspection routine listed above catches nearly all of them. If you notice more than one warning sign, or any sign on the “stop using the door” list, don’t use the door until it’s been checked. Catching the issue at the warning stage is a repair; catching it after failure is an emergency. We’d rather help you with the first.
From remotes to full door replacements, we handle it all. For a free estimate on any warning sign you’ve found, call (855) 658-3814 or visit Wellington Garage Door Repair Pros.
Written by the team at Wellington Garage Door Repair Pros.